Vinyl Coated Chain Link Fence

The clean look of premium fencing without the premium price.

Vinyl-coated chain link fencing blends everyday durability with a sleek, modern finish. It’s the go-to choice for homeowners who want something that looks good, lasts long, and fits the budget. With powder-coated posts, rails, and mesh in an all-colour finish, this fence offers the polished appeal of higher-end materials while delivering the toughness of galvanized steel underneath.

Features

  • Colour matching framework, fittings, and gates
  • Available in Black
  • Rigid, flexible and durable
  • Follows grade changes
  • Zero maintenance and cost effective
  • For added privacy, specially designed Privacy Slats can be inserted into the chain link mesh
  • A standard gate width for a single swing gate is 42″. A standard gate width for a double swing style is 120″
  • Gates are available in custom widths; request a quote with your Wallace Rep today!

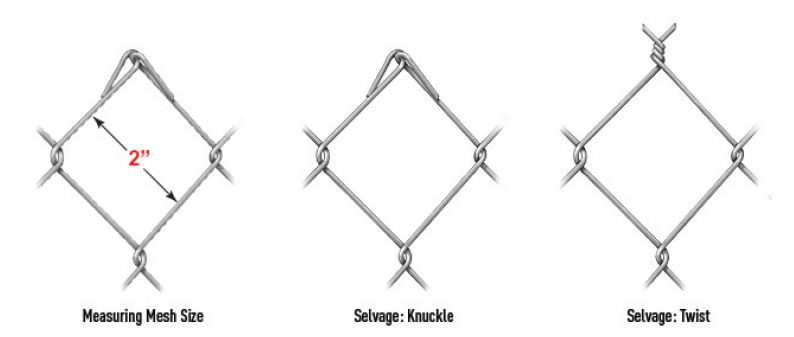
Gauge: Refers to the diameter of the wire used to produce the fabric; the higher the gauge number the smaller the wire diameter.

Mesh Size: Is the clear distance between parallel wires forming a diamond; the smaller the mesh size, the tighter the fabric

Selvage: Refers to the way the individual ends of the wire are finished after being woven together. The wire can be “knuckled” to avoid sharp ends or “Twisted” when more security is required.

Chain link mesh examples: Measurement, knuckle type, twist type

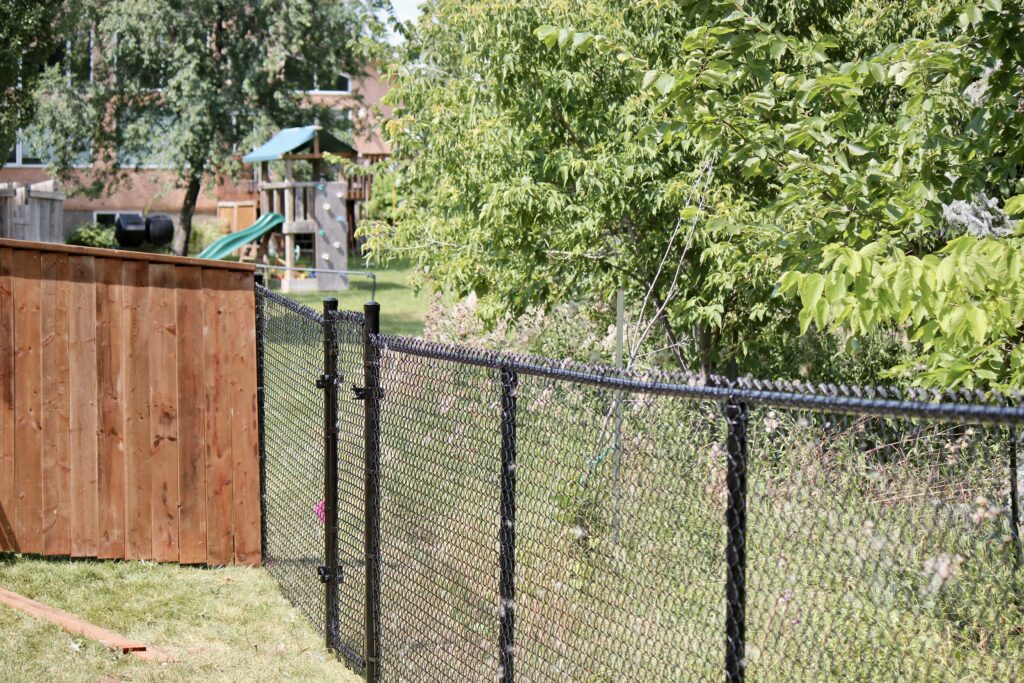
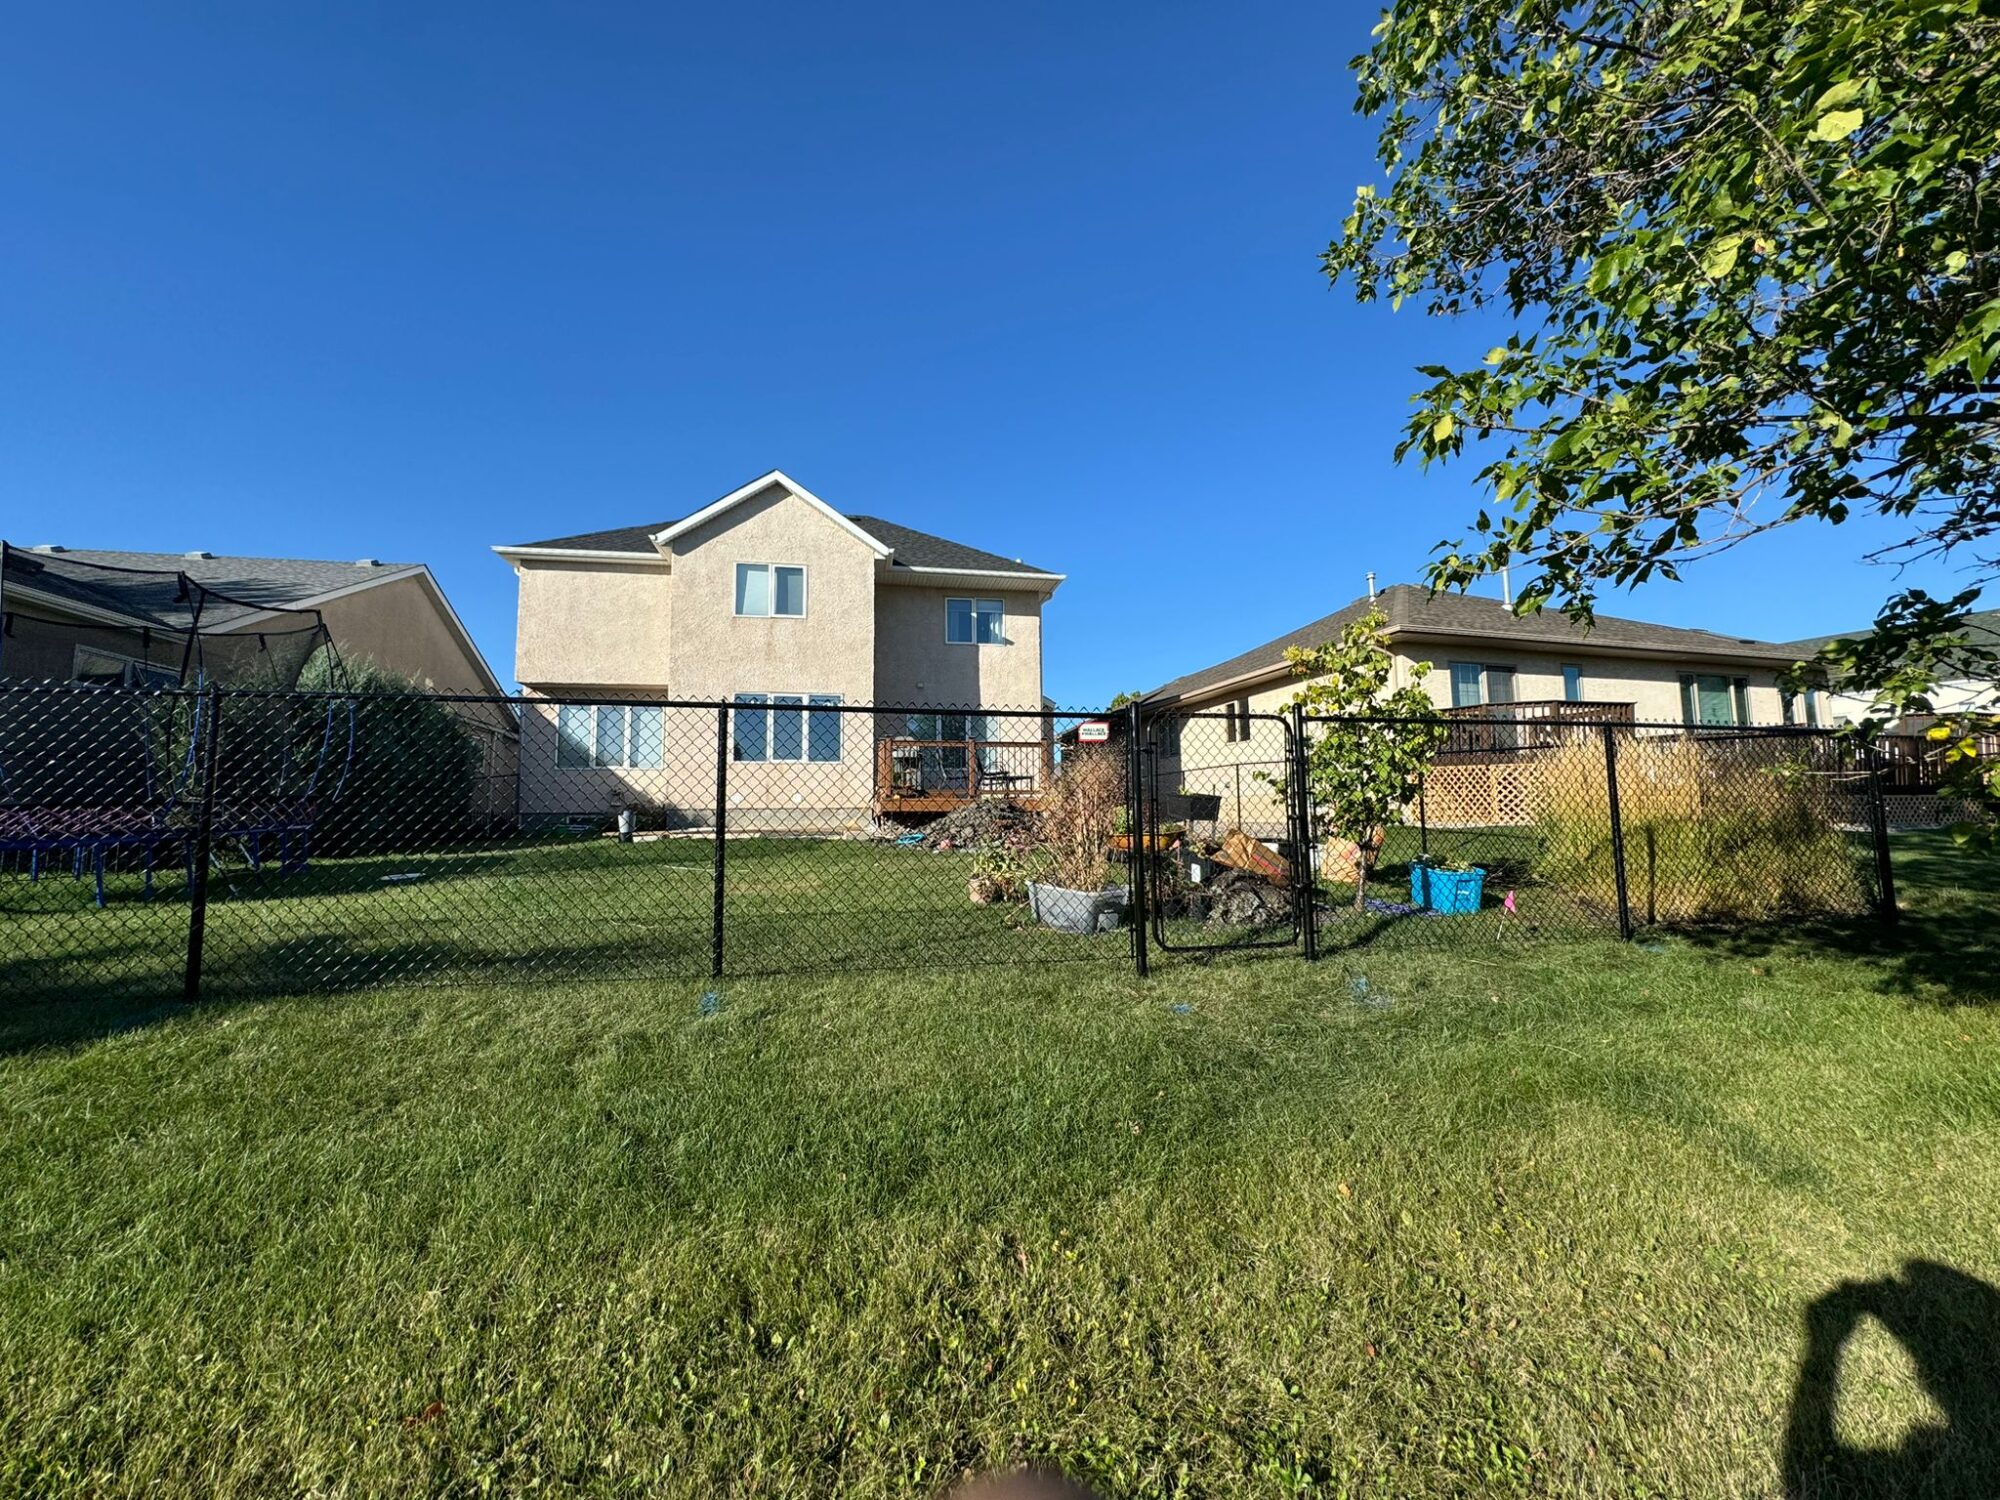
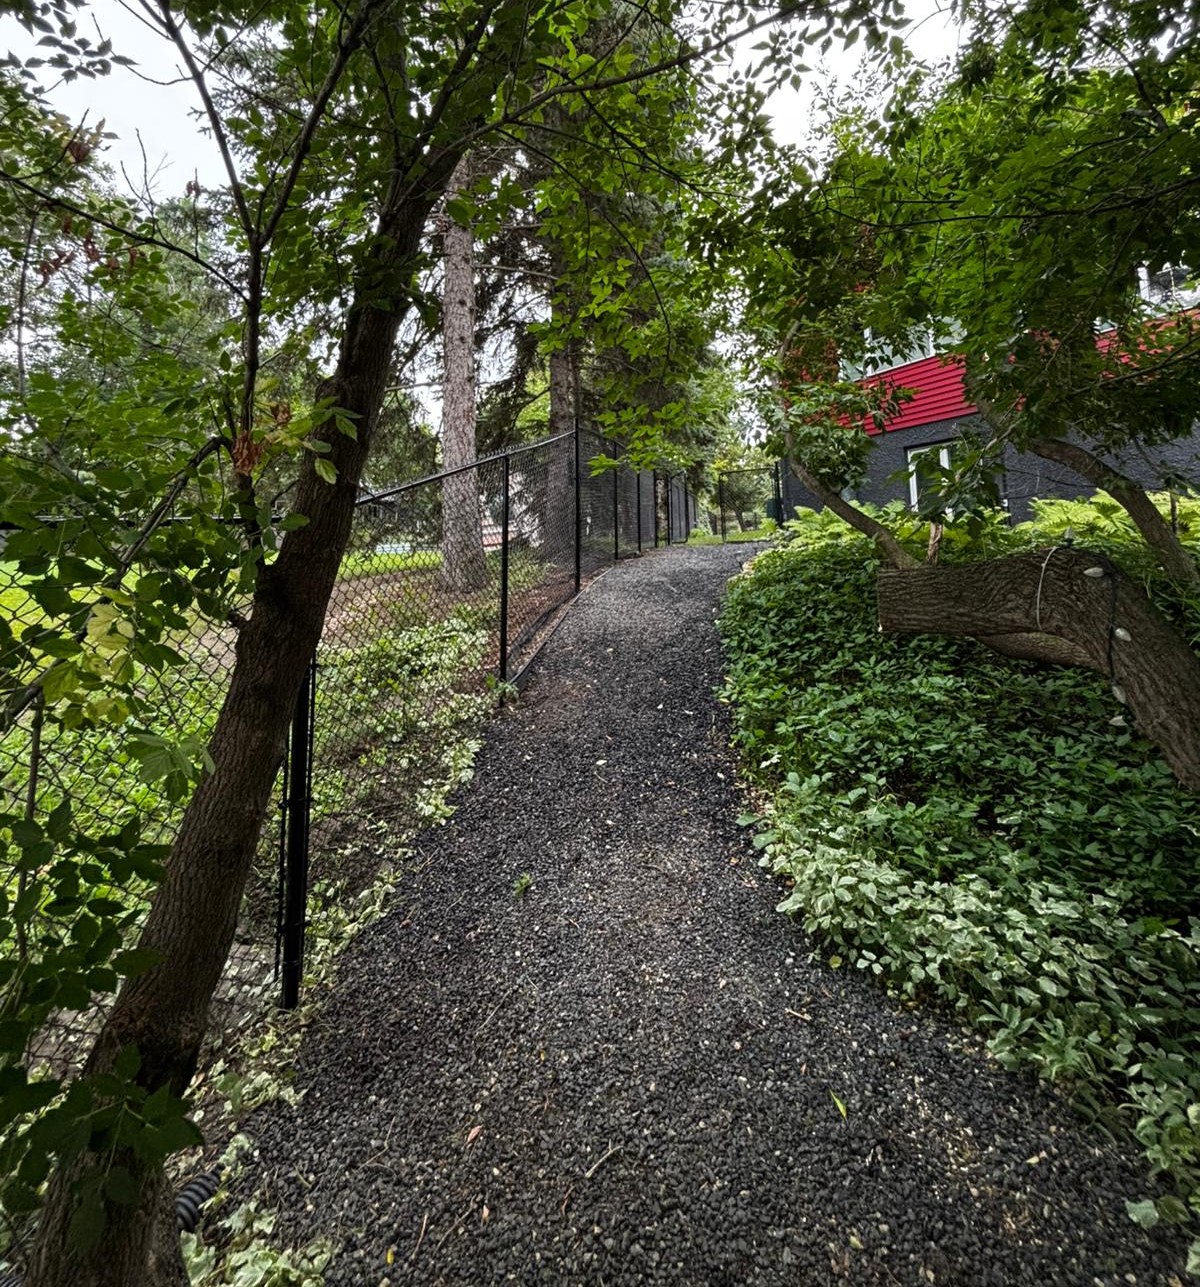
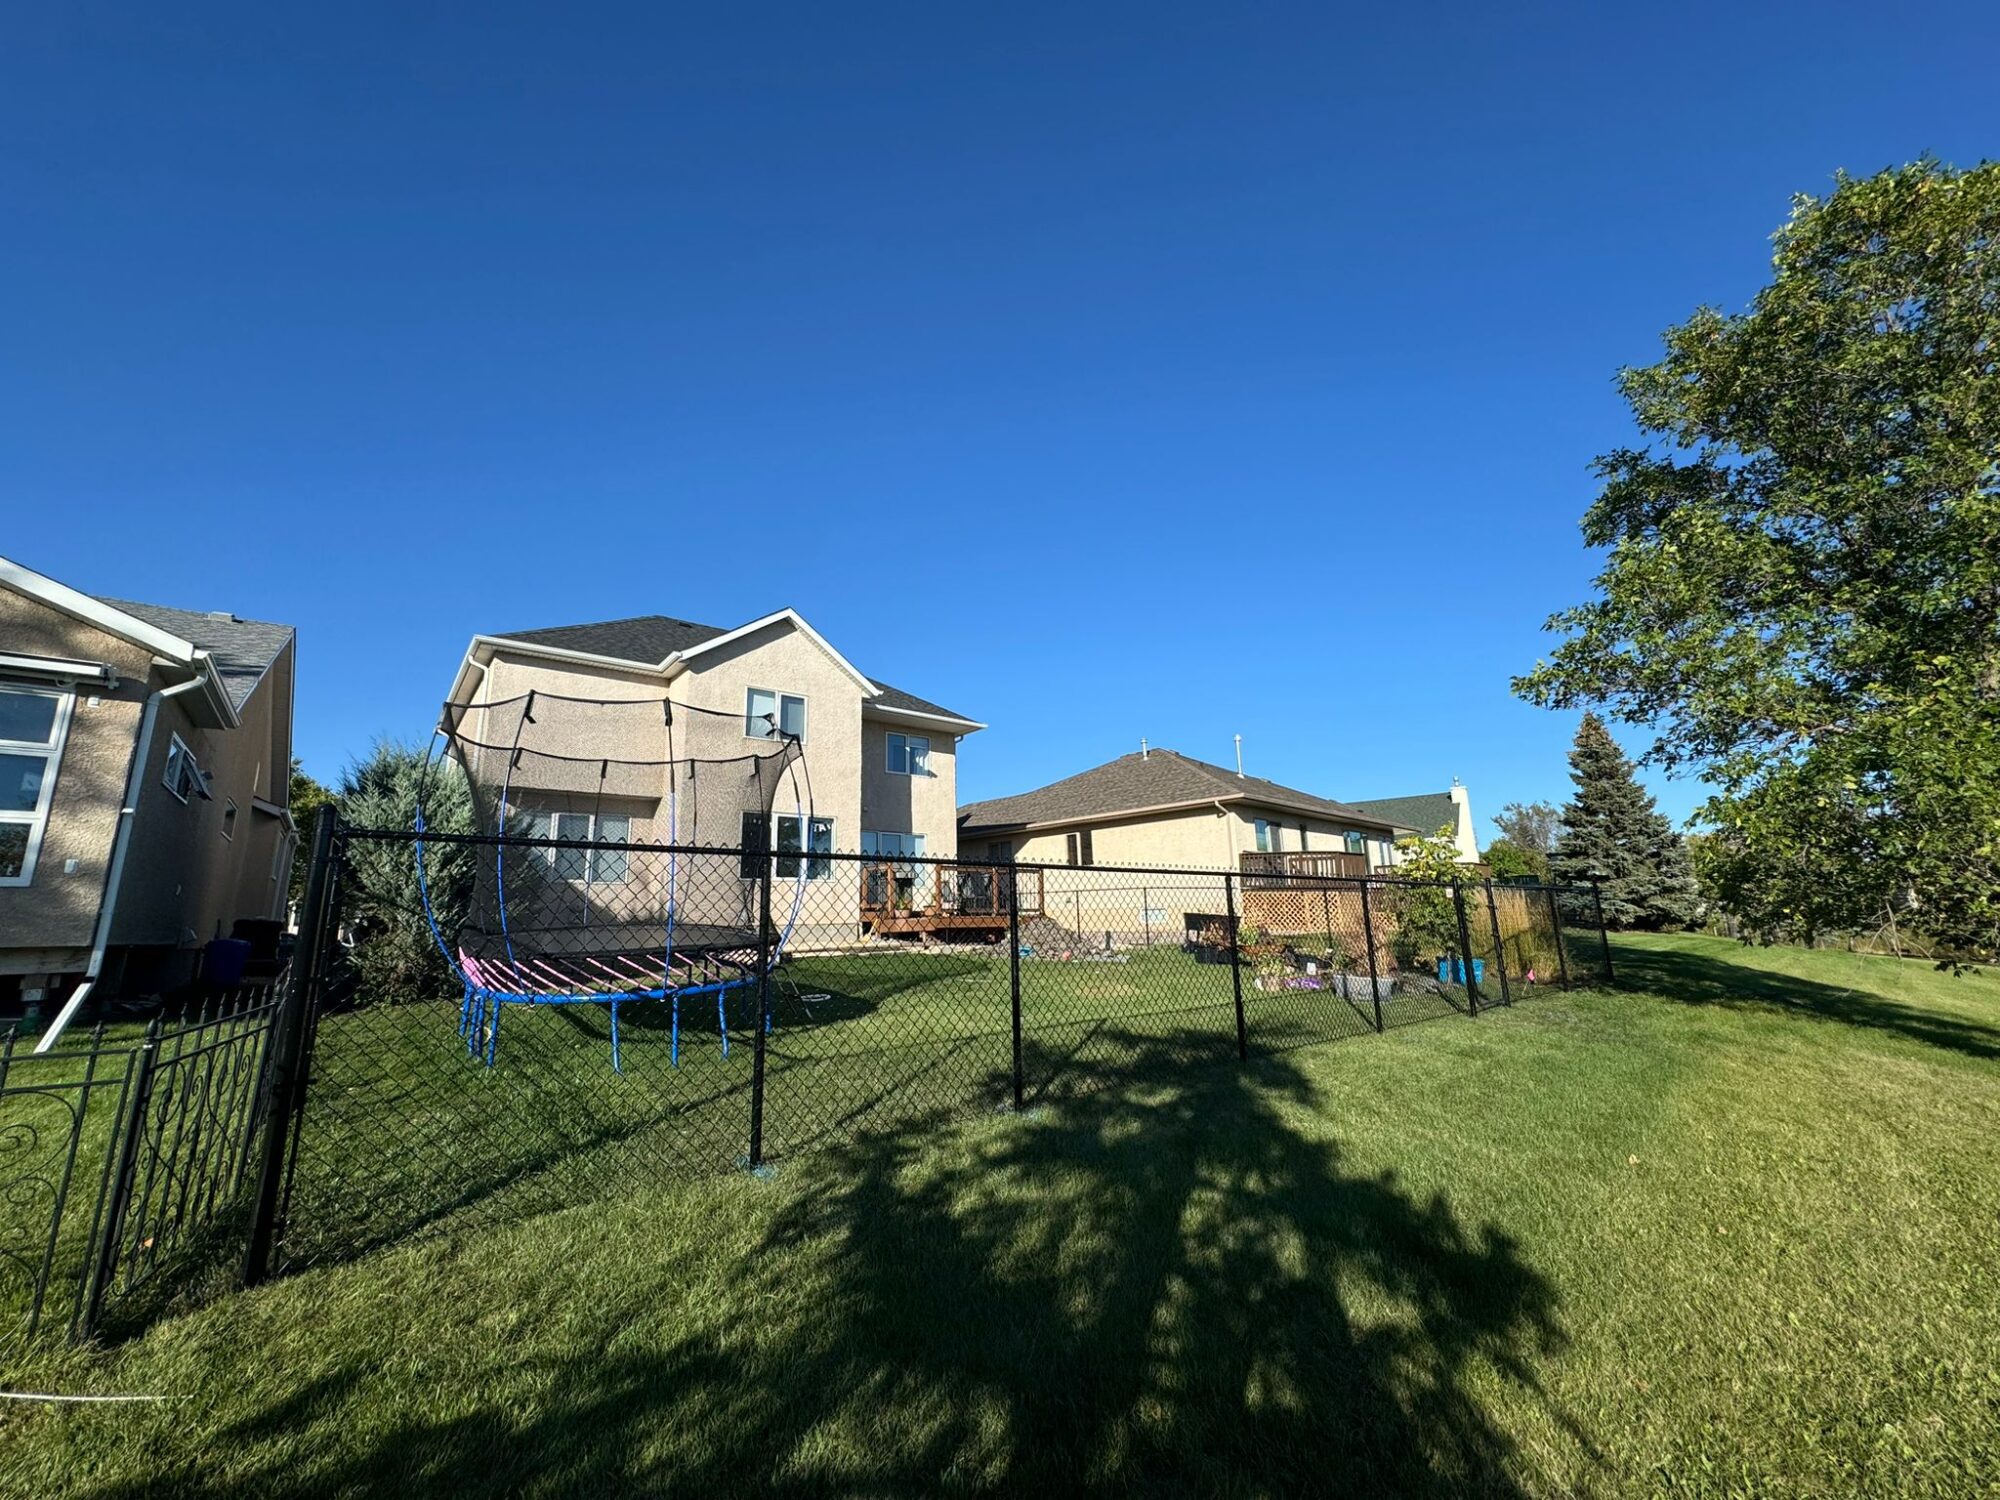
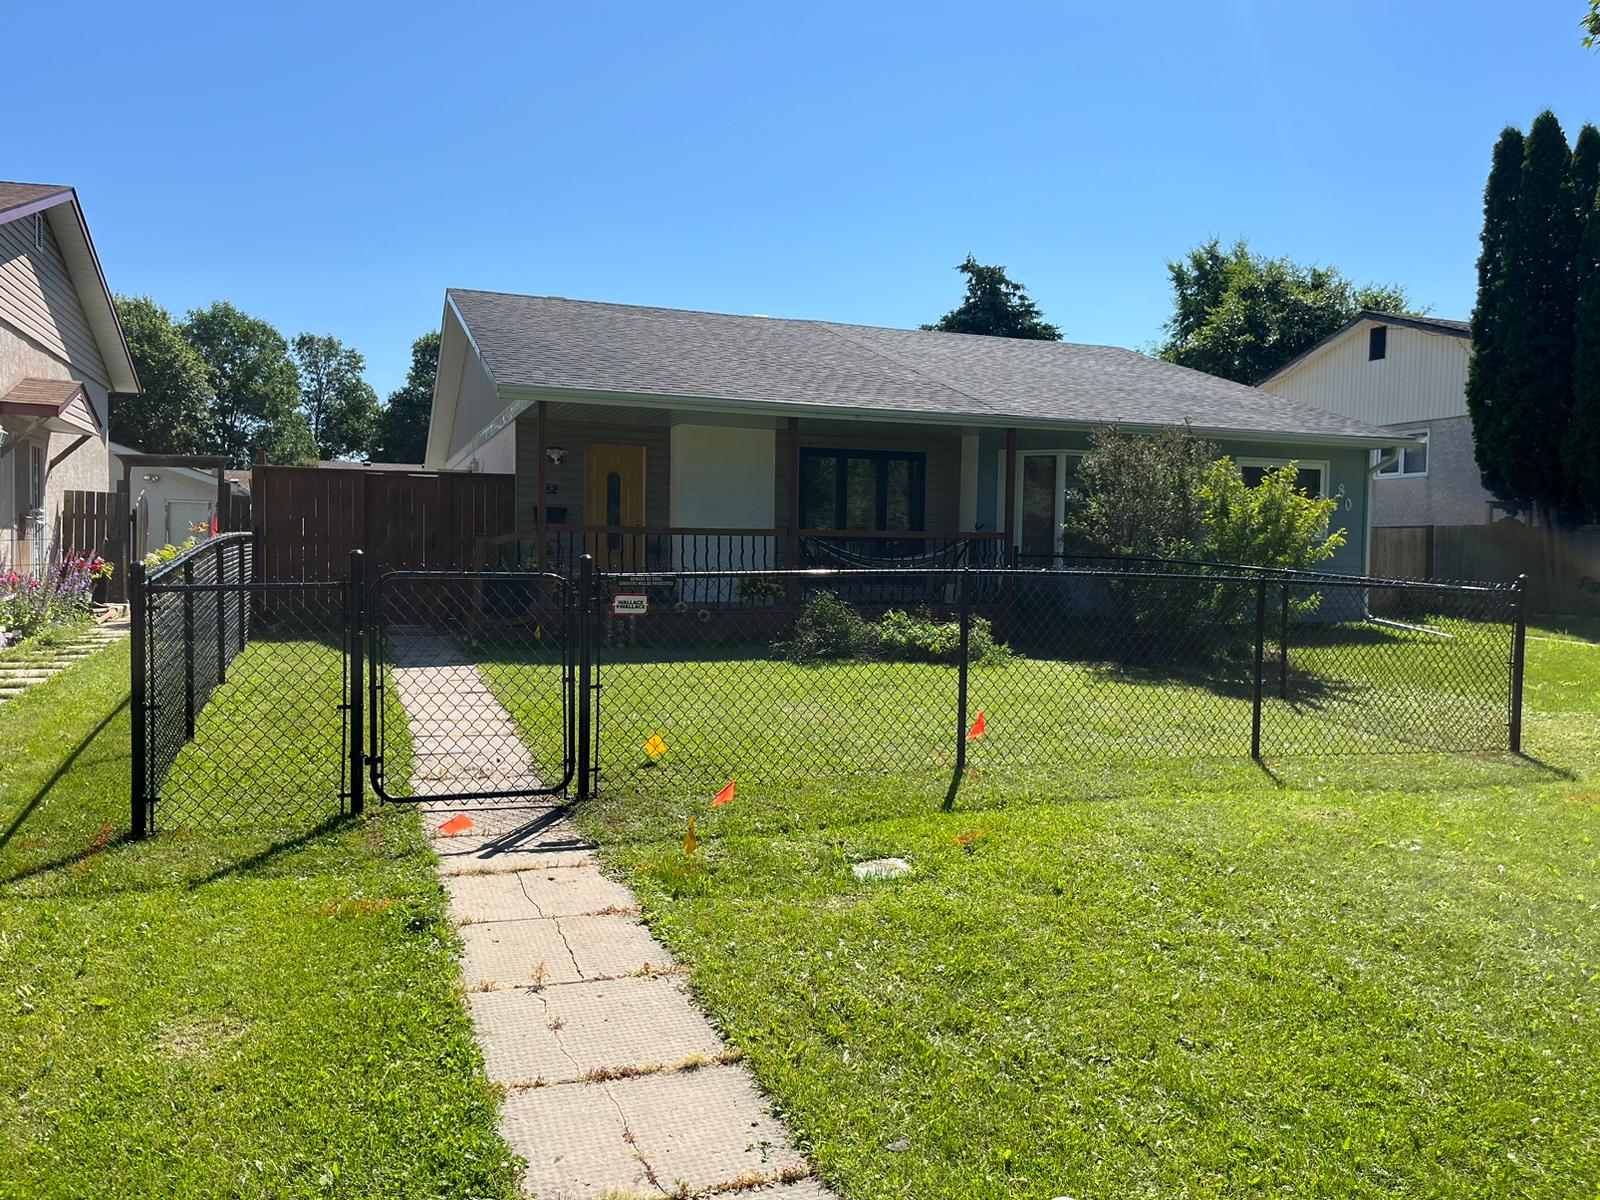
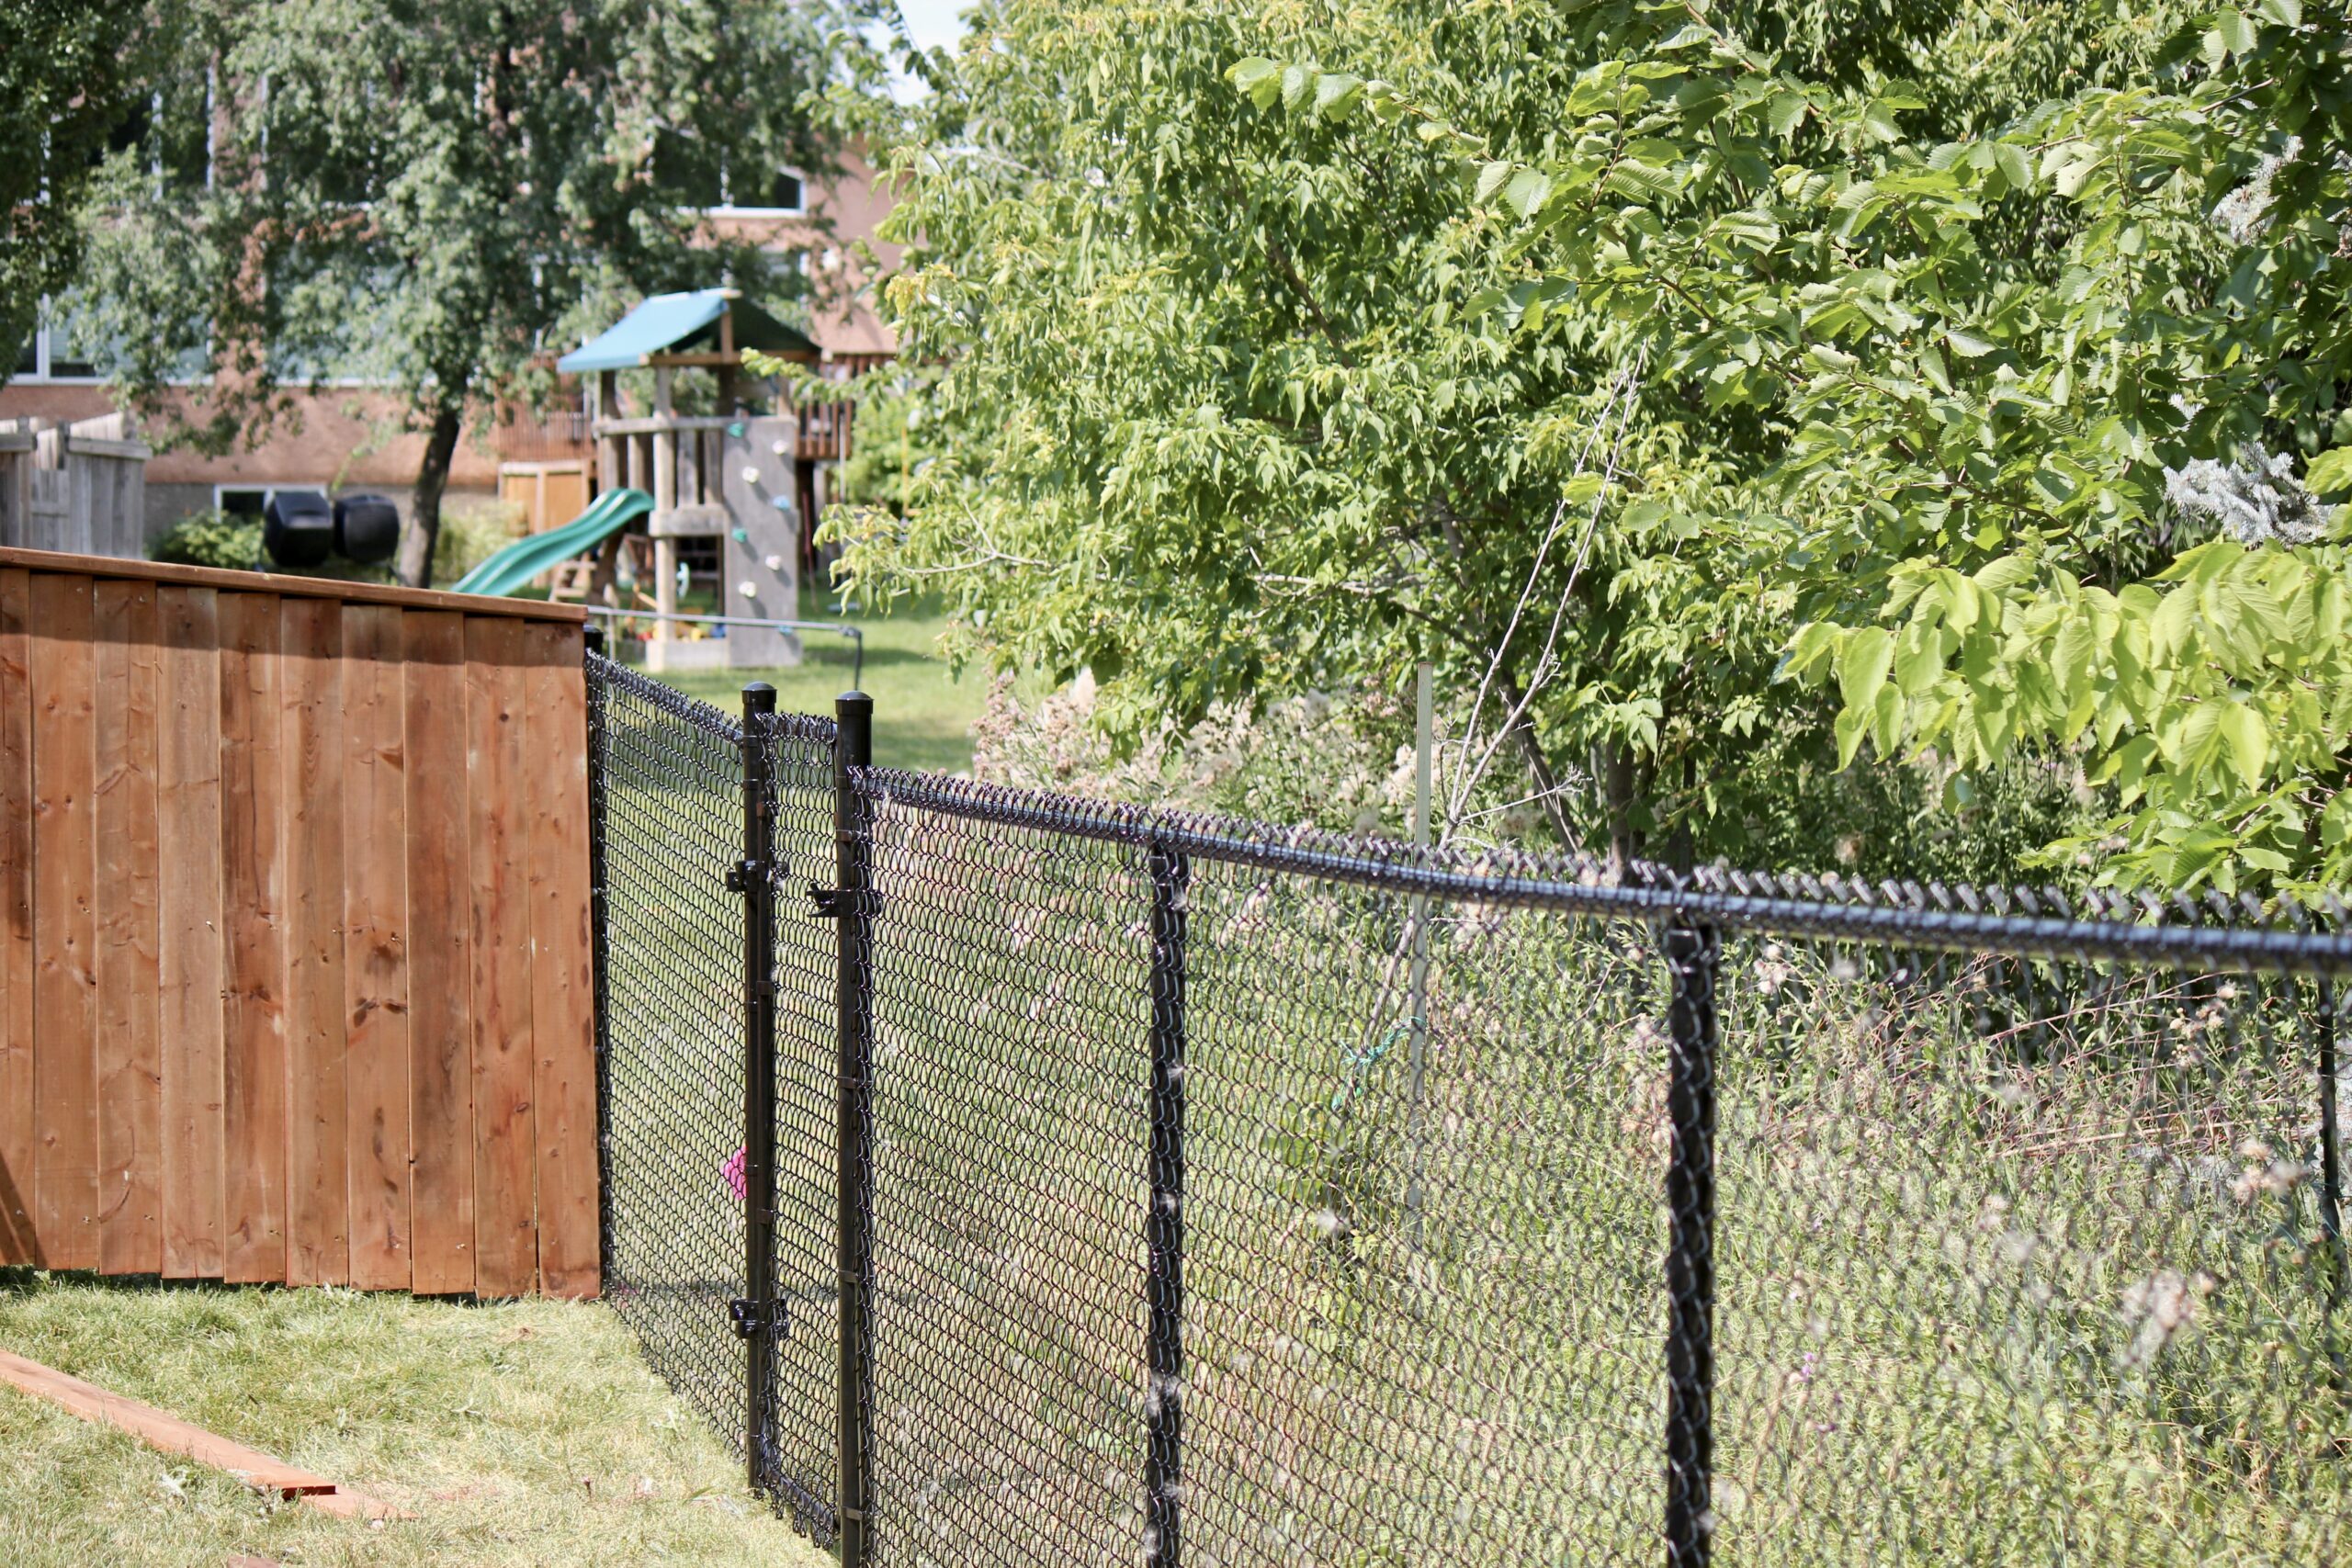
Residential Vinyl Chain Link Kits

Vinyl CoatedHeights (Feet): 3′, 3.5′, 4′, 5′, 6′
Chain Link Fabric2″ x 2″ x 9 Gauge Vinyl Coated (Coloured)
SelvageKnuckle/Knuckle
Spacing8′ on Center
Top Rail1 5/16″ x 10′ 3″ x 17 Gauge Swedged End
Line Posts1 7/8″ O.D. x 17 Gauge
Terminal Posts (End, Gate, & Corner)1 7/8″ O.D. x 17 Gauge OR 2 3/8″ O.D. x 17 Gauge
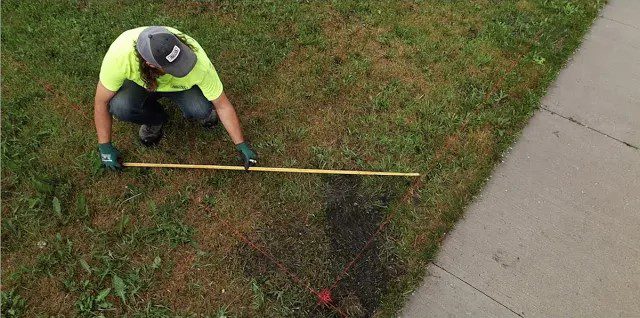
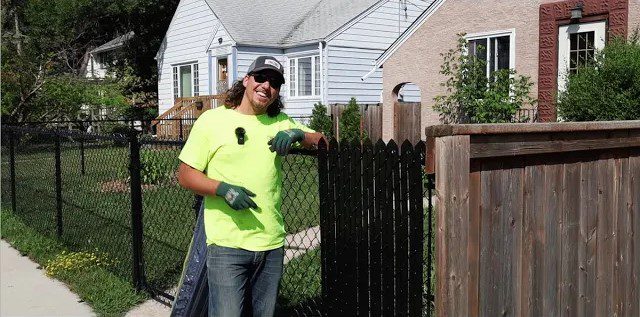
In this video, Kurtis not only showcases how to properly secure the area but also demonstrates the key indicators to ensure you’re installing within your property lines.
In this video, Kurtis illustrates the correct method of marking out your intended fence installation area.
In this video, Kurtis guides us through the process of firmly setting the posts and making necessary adjustments to ensure a solid and straight fence.
Similar to the precision required in pounding posts, framing is a precise aspect of fence installation. This step ensures the straightness of the mesh once it’s placed. Achieving a level frame is not only vital for the fence’s strength but also for the seamless installation of the remaining components.
In this video, Kurtis guides us through the straightforward and satisfying process of mesh installation. Achieving the correct tension and ensuring everything is securely in place are important for the fence’s stability and long-lasting resilience.
In this video, Kurtis shows us some on the final steps in the fence installation process, hanging a gate. He demonstrates the step-by-step process of preparing and installing the gate, ensuring a secure and seamless fit. This final step adds functionality but also enhances the visual appeal of your fence.
Join Kurtis in our instructional video as he expertly guides you through the installation process of these durable and stylish inserts, ensuring your privacy is accompanied by a touch of sophistication.
In this video Kurtis takes the lead in providing a quick recap of the preceding fence installation videos. Following this overview, he proceeds to demonstrate the finishing touches, ensuring that your fence is not only durable but also looks great!
Residential chain link fence
Spring is finally here, which means it’s time for yard projects. If a DIY fence project is on your list, we are here to help. We offer supply-only fencing products, with free install tool rentals and expert advice.

Need Help with a Fence Project?

Build your own quote online or talk to an expert. The choice is yours.